
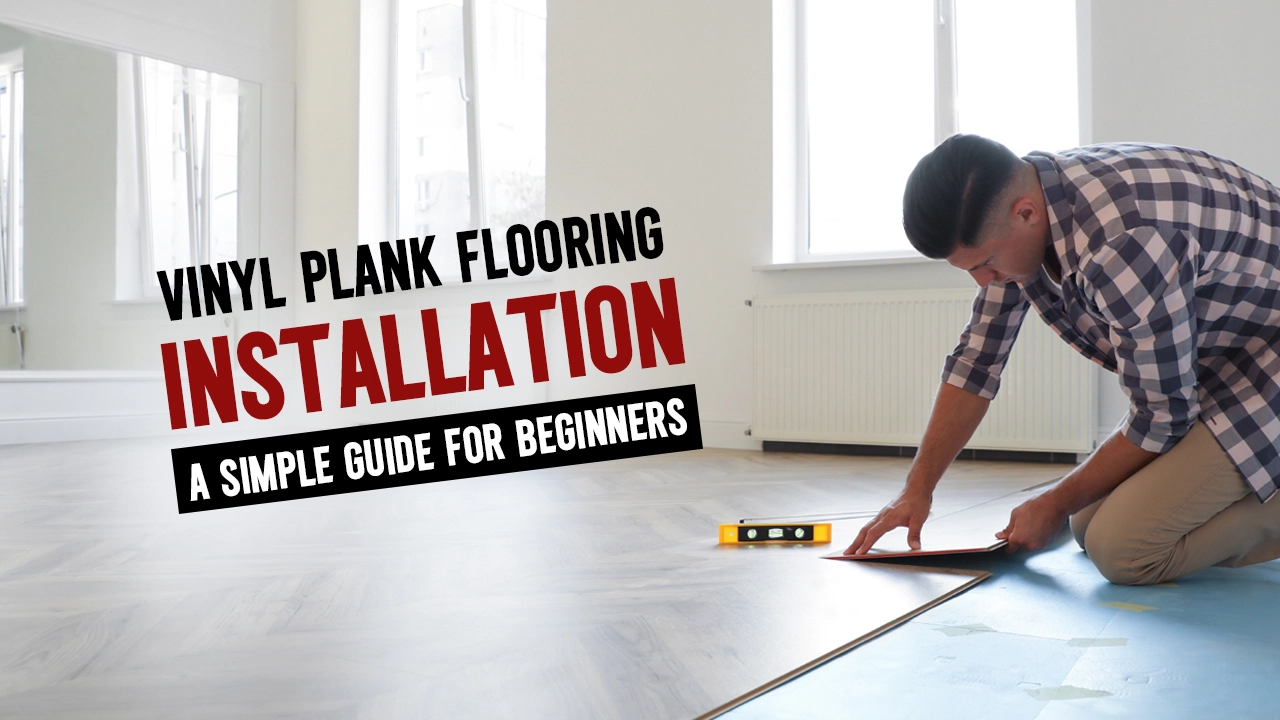
Do you want to give your home a classy new look? If you’re looking for conditions where vinyl planks are viable, that could be your answer. It is stylish, waterproof, strong, and very easy to put in even if you have never put in a flooring project before. It is cheaply priced and many homeowners love it, because it looks like real wood. Here is a post on how to install vinyl plank flooring. At the end of it, you will be prepared to make the floors you want and you will love the room.
Why Choose Vinyl Plank Flooring?
For good reasons, vinyl plank flooring is becoming more and more popular. Naturally, it’s tough enough to work with kids and pets, and also be unmarred by heavy foot traffic. It is waterproof which means you can use it in kitchens, bathrooms, and basements without worrying. Cleaning vinyl flooring is very easy. It will look nice and clean just by a simple sweep and mop. What’s more, it is undoubtedly one of the most affordable flooring options available. For a lower price, you get the beauty of wood, but you don’t pay the high price. If you seek something stylish, durable and affordable, the vinyl plank flooring comes in handy.
Different Types of Vinyl Plank Flooring
Knowing the differences between vinyl floorings before you begin installing your vinyl floorings can help. Click-lock vinyl plank flooring is a favourite because of how the planks are simply snapped together without glue. Vinyl plank flooring is stuck to the subfloor using adhesive that is particular and stuck not only tightly but also clings to the subfloor very securely. If the loose lay vinyl flooring has backing, the loose lay vinyl flooring should fit itself with its own weight. Vinyl flooring with peel-and-stick adhesive backing is peeled away before being laid down. There is a benefit to each type. Given this, you can think of your room and requirements before selecting the correct vinyl flooring for your project.
Tools and Materials You Will Need
Any project becomes simple with the right tools and materials. Vinyl Planks, Spacers, Tapping Block, Pencil, a Rubber Mallet, a knife, and a measuring tape will be required for Vinyl Plank Flooring installation. Also you may require underlayments too depending on the type of flooring you will be installing. Clean the surface with a clean broom or mop. Doing everything in advance will make you save time and it will work fine.
How to Prepare the Room
Vinyl flooring installation is one of the most critical steps, and preparation is a crucial part in it. First, remove any old flooring. It is essential to ensure that the tiles are not loose and the surface is smooth before installing the vinyl plank over them. It’s good to sweep and mop the floor to remove dust and dirt first before starting. Test that the subfloor does not sag and that it is dry. Don’t try to start it unless it’s level. Allow your vinyl planksto stay in the room for 2 to 3 days as long as 48 to 72 hours. This helps a lot in controlling the room’s temperature and humidity
Step by Step Guide For Installing Vinyl Plank Flooring
Installing vinyl plank flooring is easier. Follow these simple steps to get a beautiful result.
Step 1: Measure, plan, and layout.
Start by measuring the room carefully. Consider how the planks will run. Most people lay planks parallel to the longest wall because it makes the room look bigger and cleaner.
Step 2: Place Spacers Along the Walls
Put spacers between the wall and the first row of planks. This leaves a small gap for expansion, which is very important for a stable floor.
Step 3: Lay First Row of Planks
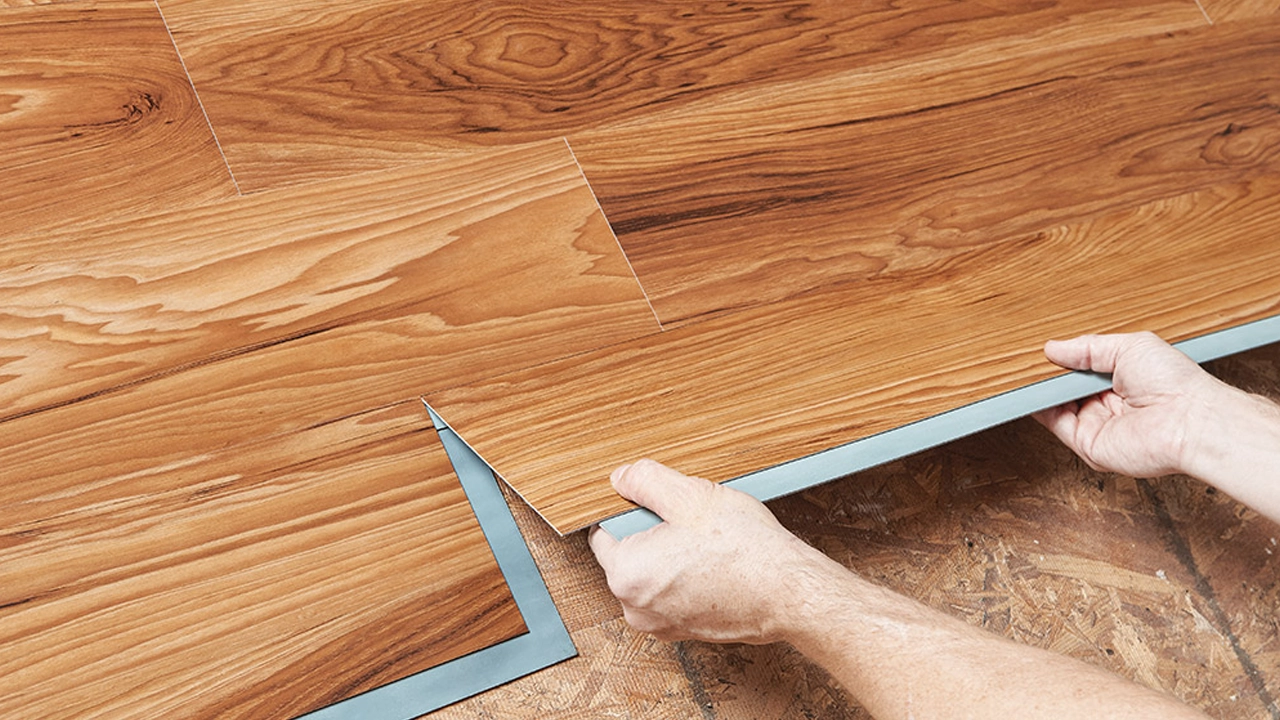
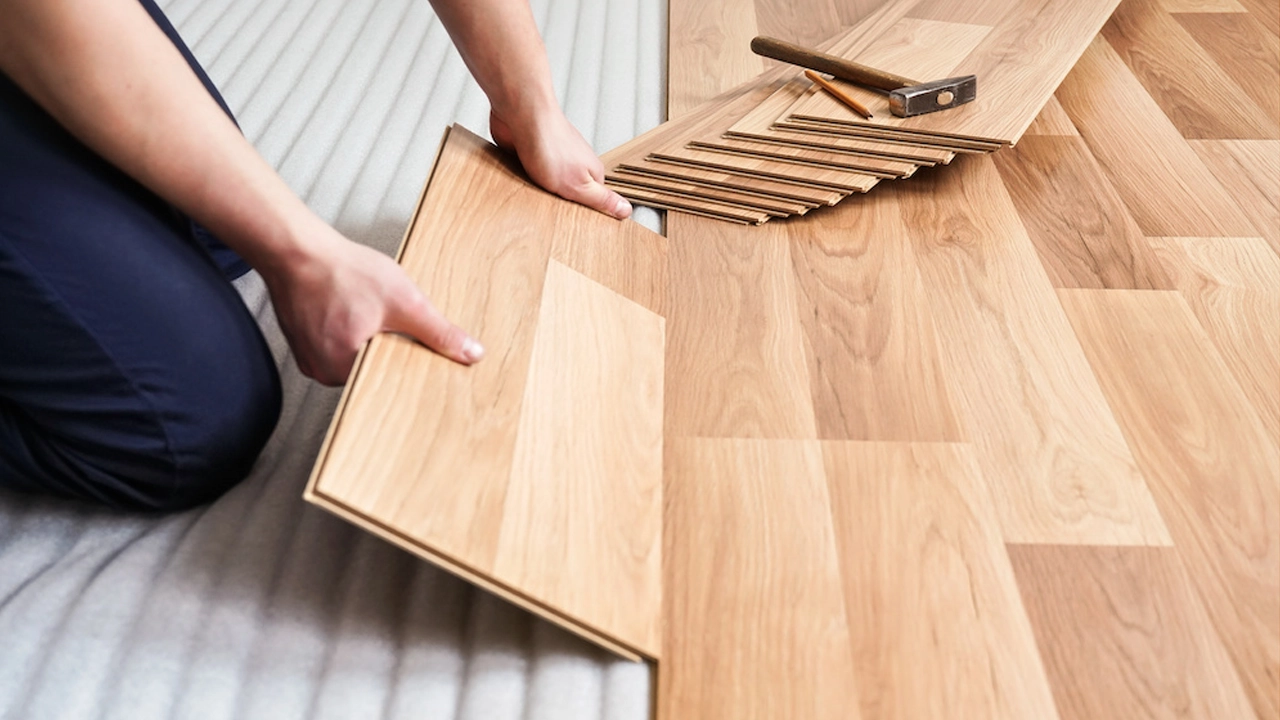
Place the first row of vinyl planks over the wall. Place the tapping block and hit it with a rubber mallet while clicking the planks together. Make sure each connection is tight and smooth.
Step 4: Stagger the Joints to Have a Natural Look
Use a piece of plank left over from the first row if possible, when you start on the second row. Always stagger the seams between rows so they do not line up. This makes the floor stronger and also makes it look more natural.
Step 5: Cut Planks to Fit
When you reach the end of a row, measure the space carefully and cut a plank to fit. A utility knife is very easy to use on vinyl planks, and you can cut them easily.. Simply score the top and snap it.
Step 6: Keep Installing Row by Row
Always check that the joints are tight and the seams are staggered, and continue laying planks row by row. Take your time to double-check measurements as you go.
Step 7: Finish the Last Row
At the last row, you may have to cut the planks lengthwise to fit the planks in the remaining space. It is best to measure and then cut neatly. Measure very carefully and neatly cut it for the perfect look.
Step 8: Remove Spacers and Reinstall Baseboards
After all the planks are installed, remove the spacers you placed earlier. After that, return to your baseboards and reinstall them over the space that cropped up around the room. This ensures the floor appears spot clean.
Tips for a Perfect Vinyl Flooring Installation
The easiest way is to follow a few simple tips to get the best from your project.
- Always leave a small gap around the edges of the room. It allows the floor to expand and contract with temperature change.
- Work mixing planks from other boxes as you work. The fact that the patterns will always differ will give your floor a more natural look.
- Measure your planks first and verify them before you cut any of these planks. By taking your time and being careful, you’ve got a good chance of creating a floor that looks like it was done by a professional.
Avoid These Mistakes While Installing
Since vinyl plank flooring installation is a simple process, you can make errors if you’re not careful enough. Never skip the part of cleaning and levelling your subfloor. Later, that will cause problems if the surface is dirty or uneven. Also, always leave expansion gaps at the edges. Furthermore, if your floor is without them, they can buckle. Instead, make sure you stagger the seams, rather than lining them up. Also, do not forget to leave it adjusted for the room’s climate before you install positions. The biggest mistakes you could make in the future will be avoided if you don’t do these.
How to Care for Your Vinyl Floors
After you’ve finished your vinyl flooring installation, you’ll want to maintain your floors looking as great as they did at the start. Well, it’s very straightforward to maintain vinyl plank flooring. Simply sweep the dust and dirt every now and then with a dustpan and brush. A damp mop with a mild cleaner on those occasions is what you should be using. Be wary of the temptation to damage the surface with harsh chemicals and steam mops.
Conclusion
Vinyl plank flooring is a great project to install by yourself. It is simple and quite rewarding. Moreover, you will save your money and beautify your home. You can have a professional-looking floor once you have taken some patience and you have the right tools. First, you need to know the following information to help select the best vinyl plank flooring. Now that you’ve made it to the end of this blog and know most of the things you need to know about vinyl plank flooring, you’re ready. You will have to decide on your new vinyl plank flooring and begin with installation.
Azzaro Surfaces give you outstanding quartz, porcelain and quartzite slabs to transform your space with. Our premium countertops will perfectly complete your new vinyl plank flooring. Come visit azzarosurfaces.com today to take your home by the style leash.

